


You’ve likely heard of chat rooms, and perhaps you’ve even participated in a few dedicated to various topics. Chat rooms are created as specific spaces where people with common interests can gather to discuss and engage. For example, an educational website might have a chat room where students can discuss course material, helping to build a strong community. For a website owner, a chat room with a high volume of users can also be a great way to increase site traffic.
While a chat room is a great feature, it’s most effective when it’s part of a cohesive and professional web design. In this article, we’ll provide a tutorial on how to create a WordPress chat room using a simple and effective plugin.
Why Use a Live Chat Room?
Sometimes, the nature of our website requires users to communicate with us and with each other in real-time. While contact methods like email or phone numbers exist, a chat room offers a much different, more immediate, and more interactive experience. Websites like community forums or e-learning platforms feel this need more than most. For this tutorial, we will use a plugin called Simple Ajax Chat to build our WordPress chat room.
What is the Simple Ajax Chat Plugin?
With over 3,000 active installations, Simple Ajax Chat is one of the best plugins for creating a chat room in WordPress. It allows you to easily add a chat feature to your site without relying on any third-party services. To use it, simply install the free plugin from the WordPress repository. Below, we’ll cover some of its key features.
Key Features of Simple Ajax Chat
- Easy to use and configure
- Compatible with all mobile devices (Android, iPhone)
- Displays new chats without requiring a page reload
- Can be displayed on any page or post
- Option to show chat messages in ascending or descending order
- Ability to grant or restrict chat access to users
- Sound alert for new messages with customizable sounds
- Easily display the chat room via a shortcode
- Ability to export all chats as a CSV file
- Excellent security to combat spam
Configuring the Simple Ajax Chat Plugin
After installing and activating the plugin, a new option named Simple Ajax Chat will be added to the “Settings” menu in your WordPress dashboard. Clicking on it will take you to the plugin’s settings page, where you can customize it to your needs. Let’s review these settings.
Plugin Settings Tab
General options
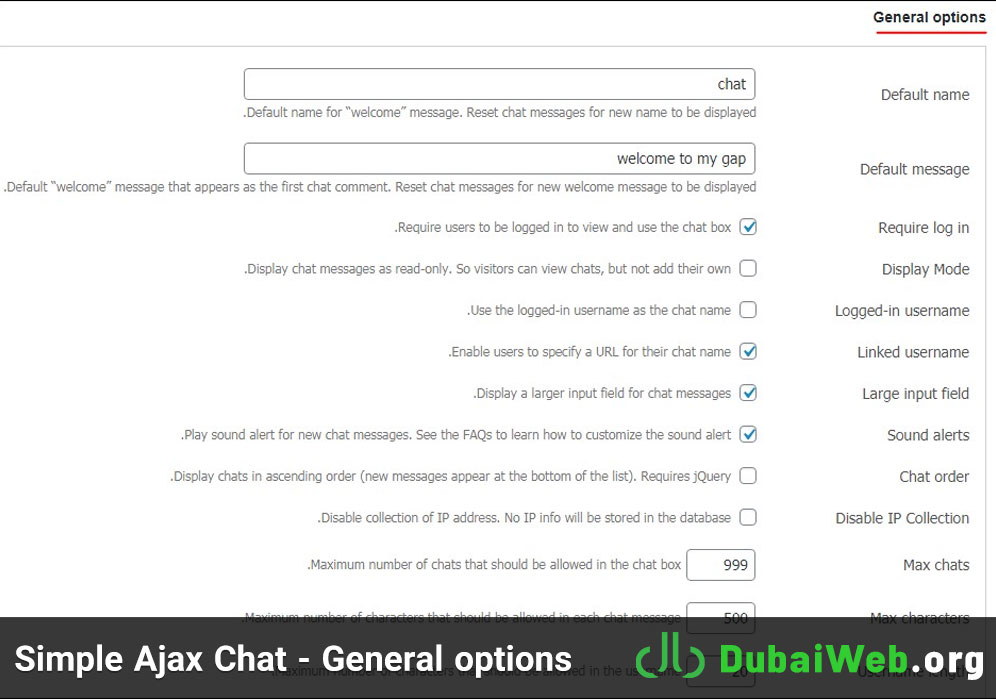
- Default name: Choose a default name for messages.
- Default message: Set a default message that appears as the first chat message.
- Require log in: Require users to be logged in to view and use the chat.
- Display Mode: Allow visitors to only view the chat without being able to post.
- Logged-in username: Use the logged-in user’s name as their chat name.
- Linked username: Allow users to specify a URL for their chat name.
- Large input field: Provides a larger input field for chat messages.
- Sound alerts: Enable a sound alert for new messages.
- Chat order: Display chats in ascending or descending order.
- Disable IP Collection: Prevents any IP information from being stored in the database.
- Max chats: Set the maximum number of chats allowed in the chat box.
- Max characters: Set the maximum number of characters allowed per message.
- Username length: Set the maximum character length for usernames.
Times and colors
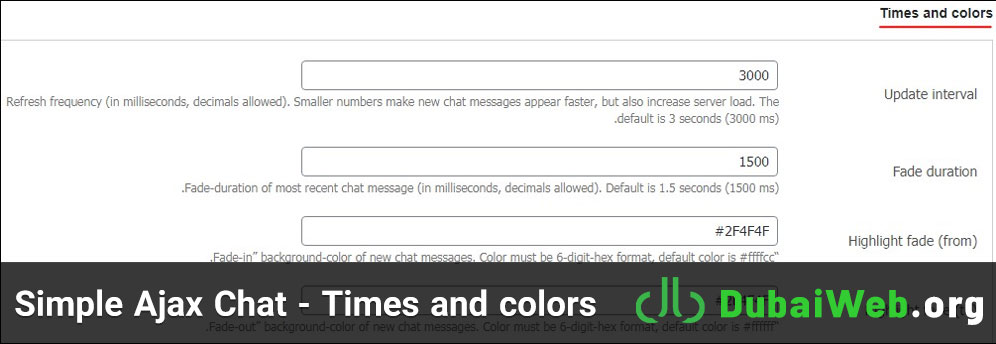
- Update interval: The time in milliseconds before checking for new messages (Default: 3000ms).
- Fade duration: The duration for the latest chat message to fade in (Default: 1500ms).
- Highlight fade (from): The starting background color for new messages (Default: #ffffcc).
- Highlight fade (to): The ending background color for new messages (Default: #ffffff).
Appearance
- Enable custom styles: Check this box to enable custom CSS styles.
- Custom CSS styles: A field where you can add your own custom CSS to change the appearance of the chat box.
Targeted loading
- Chat URL: By default, the plugin’s JavaScript loads on every page. To load it only on the page with the chat, enter the page’s full URL here. Separate multiple URLs with a comma.
Custom content
- Before/After chat box: Add custom content to display before or after the chat box.
- Before/After chat form: Add custom content to display before or after the chat submission form.
Remember to save your changes after you’re done.
Banned Phrases Tab
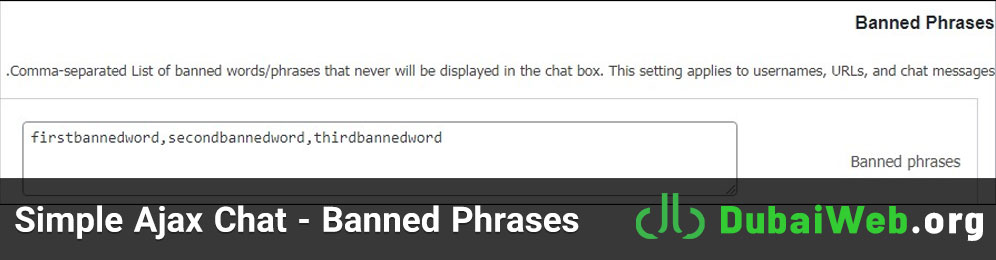
- Banned phrases: Create a comma-separated list of words and phrases that will be filtered from chat messages, usernames, and URLs.
Manage Chat Messages Tab
Here, you will see a list of all chat messages. You can edit or delete any message from this screen.
Export Chat Messages Tab
This section allows you to export all chat logs into a CSV file by clicking the “Export all chat data…” link.
Restore Defaults Tab
If you need to revert to the plugin’s original settings, click the “Restore default settings” button here.
How to Add the Chat Room to a Page
After configuring the plugin, you need to add the chat room to a page. To do this, go to the plugin’s settings page and find the Shortcode & Template Tag section. Copy the shortcode provided.
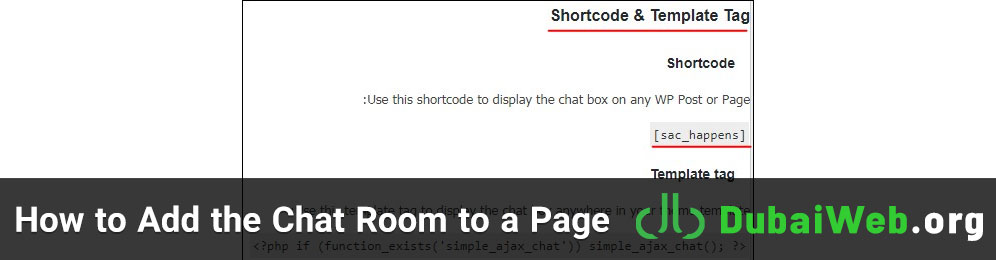
Next, create a new page or edit an existing one. In the WordPress editor, add a “Shortcode” block and paste the shortcode you copied into the field. If you are using the Classic Editor, you can simply paste the shortcode directly into the text editor.
Save or publish your page and view the result. You will now have a live chat room on your WordPress site.
Conclusion
By creating a chat room in WordPress, you can easily facilitate communication between your website’s users and speed up interactions. The Simple Ajax Chat plugin is an excellent tool for this, and in this article, we’ve covered its features and settings in detail.
At DubaiWeb, we believe that adding interactive features like a chat room can significantly boost user engagement and build a stronger community around your brand. We hope this tutorial has been helpful. If you have any questions, feel free to share them in the comments.