

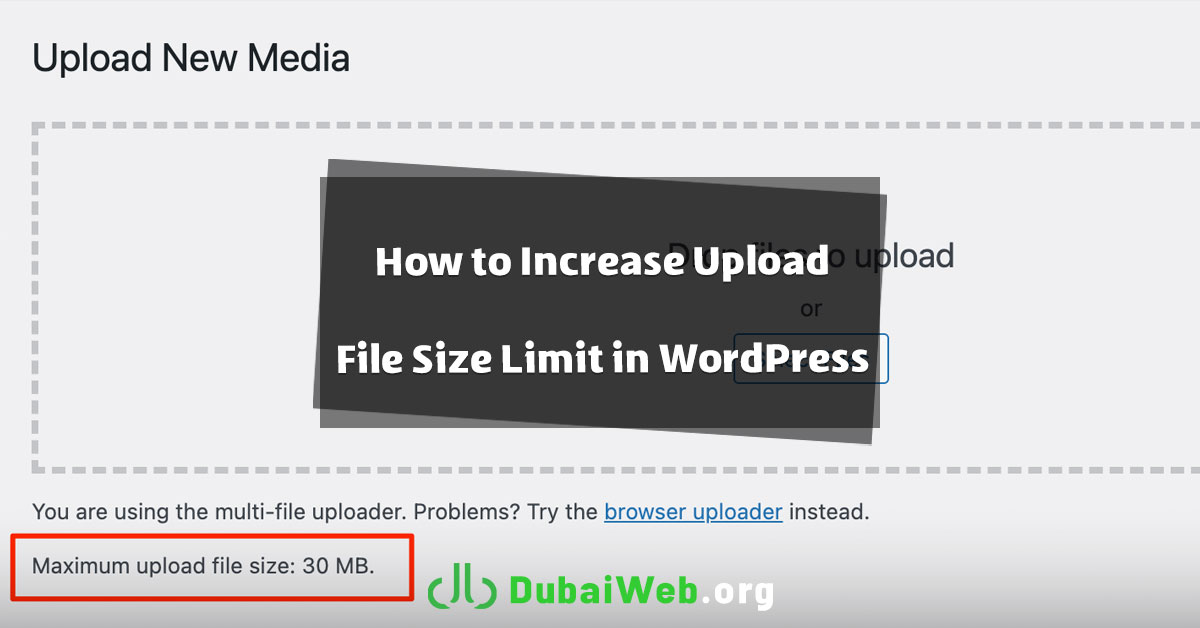
One of the most common limitations WordPress users face is the file upload size limit. By default, this limit is usually set between 2MB and 10MB, which can quickly become a problem when uploading themes, plugins, or large media files. To resolve this issue, PHP configuration limits must be adjusted correctly.
In professional website projects, especially in competitive environments like web design in dubai, handling these technical settings properly is essential. Teams such as Dubai Web consistently apply these configurations to ensure smooth file uploads and a stable website experience.
Why Does Upload Size Limit Matter in WordPress?
WordPress enforces upload limits to prevent excessively large or potentially harmful files from being uploaded. These limits are controlled by three main PHP parameters:
- upload_max_filesize – Maximum allowed size of a single uploaded file
- post_max_size – Maximum size of data sent via forms
- max_execution_time – Maximum execution time of a PHP script
If these values are too low, you may encounter errors such as:
File exceeds the upload_max_filesize directive in php.ini
How to Increase Upload Limit in WordPress
1. Access Your Hosting Control Panel
First, log in to your hosting control panel. The most common ones are:
- cPanel
- DirectAdmin
After logging in, locate the section related to PHP settings or PHP configuration.
2. Locate the php.ini File
The php.ini file is where PHP limits are defined.
- In cPanel, you can usually find it under:
- Select PHP Version → Options
- Or MultiPHP INI Editor
- In DirectAdmin, PHP settings are typically accessible through a similar interface.
3. Edit Upload Limit Values
Once you access the PHP configuration, find or add the following values:
upload_max_filesize = 64M
post_max_size = 128M
max_execution_time = 300
What these values mean:
- upload_max_filesize = 64M → Maximum file size allowed is 64MB
- post_max_size = 128M → Maximum data sent through forms is 128MB
- max_execution_time = 300 → PHP scripts can run for up to 300 seconds
These settings allow large themes, plugins, and media files to upload without issues.
4. Save Changes
After editing, make sure to save or apply the changes. Most control panels provide a clear Save or Apply button.
5. Restart PHP or Apply Settings
For changes to take effect, PHP services must be reloaded.
- In cPanel, clicking Save & Apply is usually enough
- On shared hosting, if you don’t have restart access, contact hosting support
6. Verify Changes in WordPress
Go to your WordPress dashboard and test the new limit:
Dashboard → Media → Add New
Try uploading a file larger than the previous limit.
If the upload succeeds, the configuration is applied correctly.
Additional Tips and Important Notes
Using wp-config.php (If Limits Still Apply)
Sometimes .htaccess or server-level rules override PHP settings. In this case, you can add the following lines to wp-config.php:
@ini_set('upload_max_size', '64M');
@ini_set('post_max_size', '128M');
@ini_set('max_execution_time', '300');
Shared Hosting Limitations
On shared hosting plans, some limits are enforced by the provider and cannot be changed manually. If so, contacting hosting support is required.
Always Take a Backup
Before editing php.ini or wp-config.php, always create a backup to avoid unexpected issues.
Final Summary
Increasing the upload size limit in WordPress is a critical step for smoother file management and hassle-free plugin and theme installation. By correctly configuring upload_max_filesize, post_max_size, and max_execution_time, most upload-related issues can be resolved without using additional plugins.
Experience shows that applying proper technical standards during website development significantly improves performance and stability. Teams experienced in web design in Dubai and international projects—including website development targeting India—follow these practices to deliver reliable, scalable websites.
By following this guide, you can safely increase WordPress upload limits and enjoy a smoother site management experience without complex server changes.